Technical preparations:
Click on the images to view them larger.
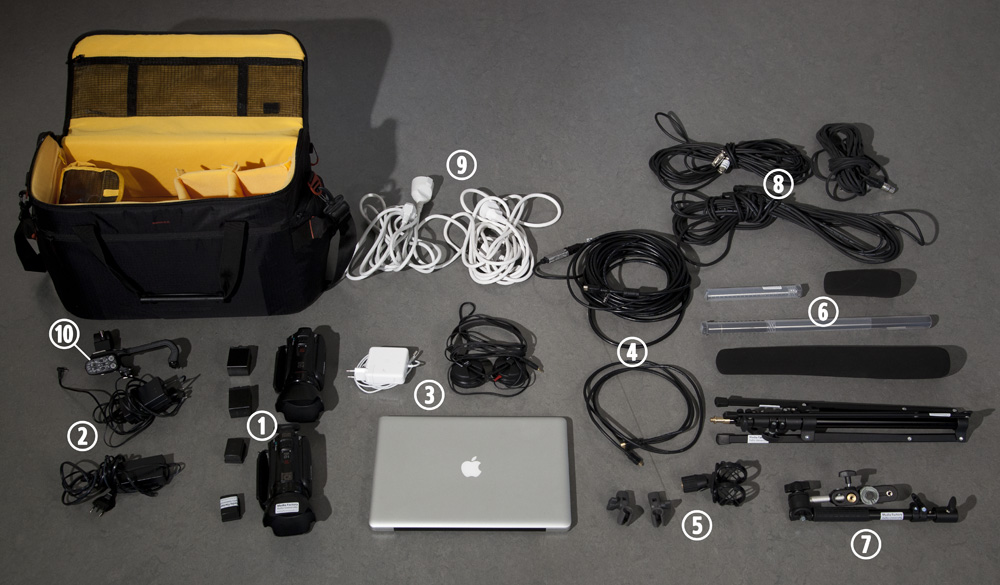
Unpack the camera bag:
1. two cameras and their battery packs
2. camera AC adaptors
3. laptop, power cord, headphones
4. HDMI cables, a long and short one
5. microphone holders
6. two shotgun microphones (and wind shields)
7. extra arm for mounting microphone on camera unit 1
8. XLR microphone cables
9. power extension cables
10. XLR extension for camera (not needed in the default set-up)
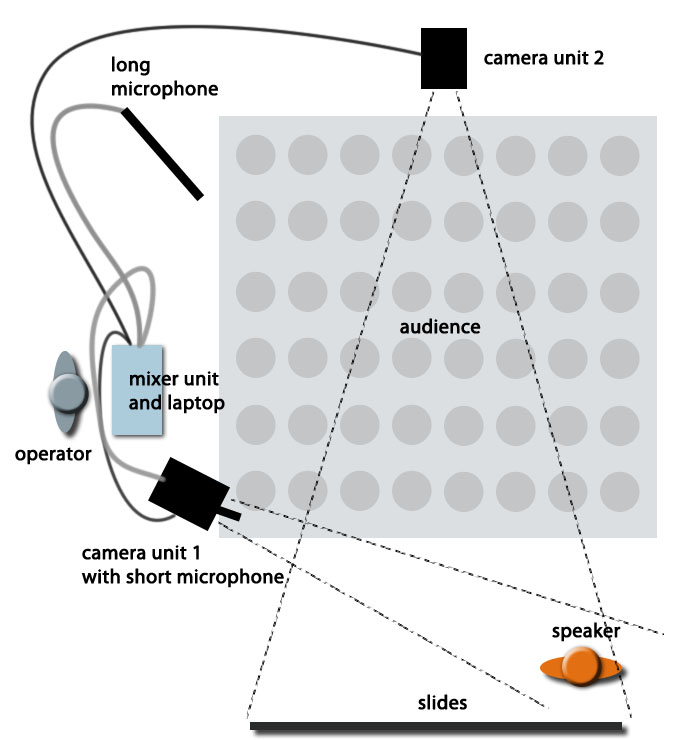
Plan drawing for an example of a recommended setting:
1. Set up camera unit one:
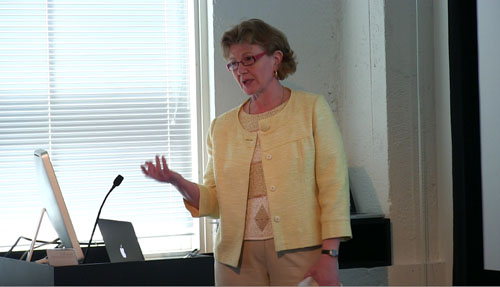
Camera unit 1 framing example.
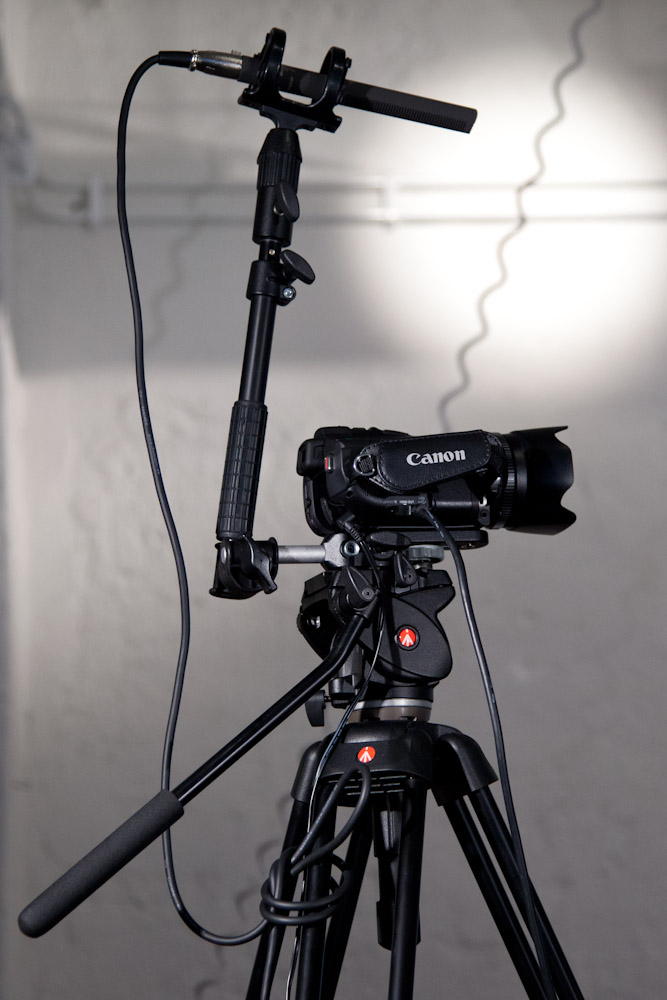
The camera unit one should be placed close to the main mixing unit and targeted towards the presenter. The unit contains the short shotgun mic mounted on top of the camera. The images below show how to assemble unit one:
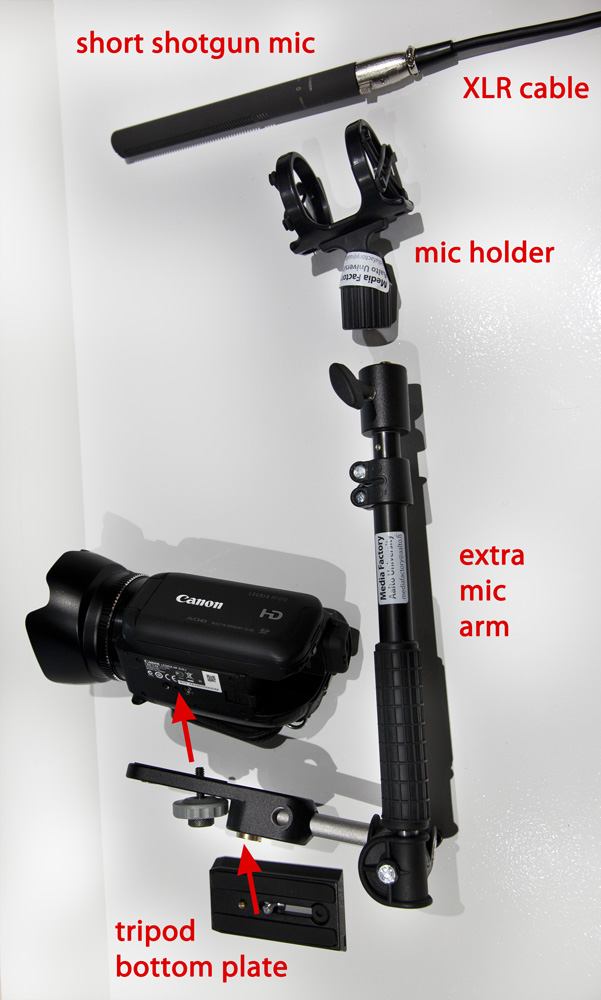
Mounting the short shotgun mic on top of camera unit 1
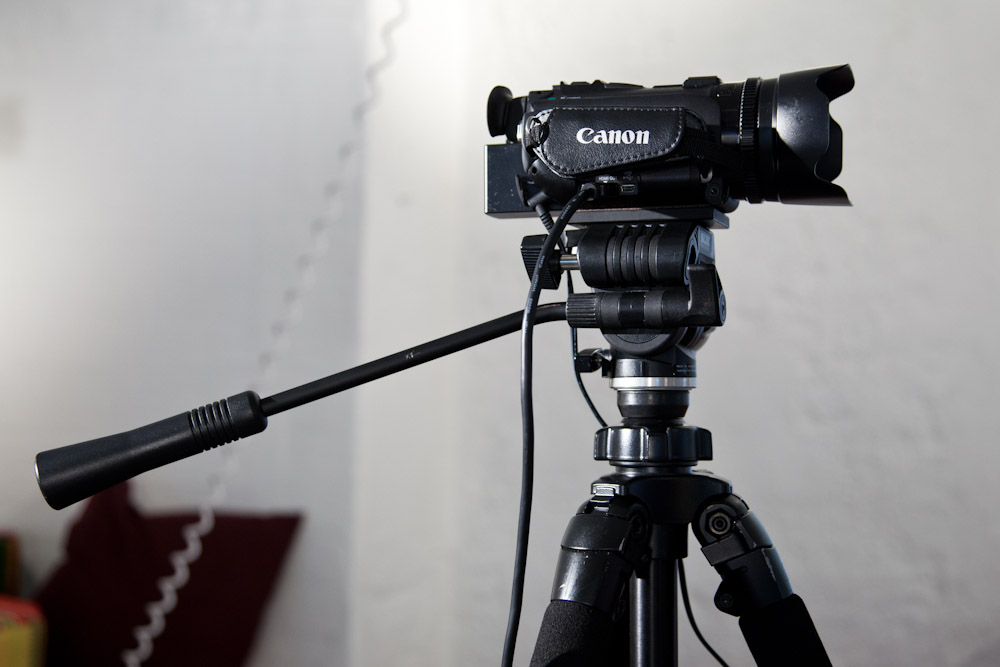
Mount the camera to the tripod and plug the power cord and the shorter HDMI cable to the camera:
2. Set up camera unit two:
Camera two should be targeted at the presentation slides (projection):
Camera unit 2 framing example.
Mount the camera on a tripod and connect the power cord and the longer HDMI cable to the camera:
3. Set up the long shotgun mic:
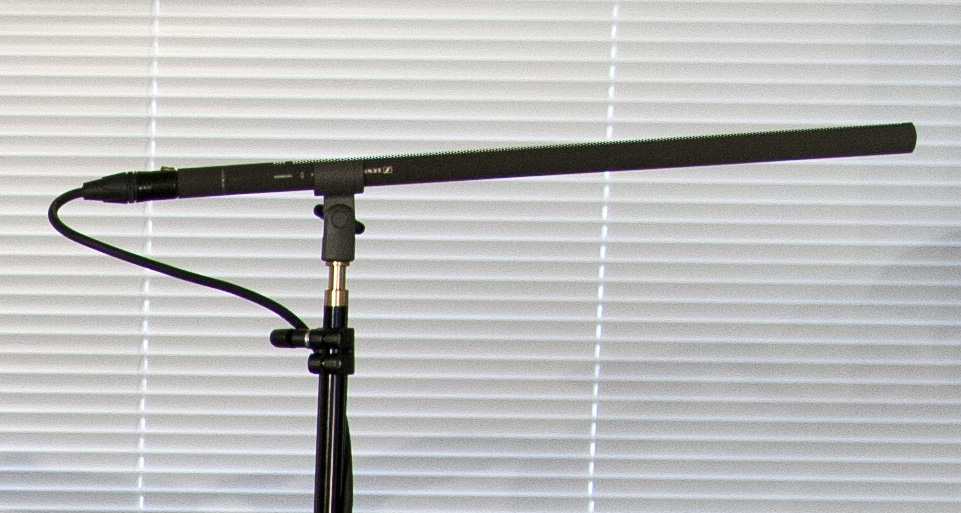
Screw the small grey mic holder to the mic stand and clip the long shotgun mic to the holder. Connect the XLR-cable:
4. Plugging in to the mixer unit:
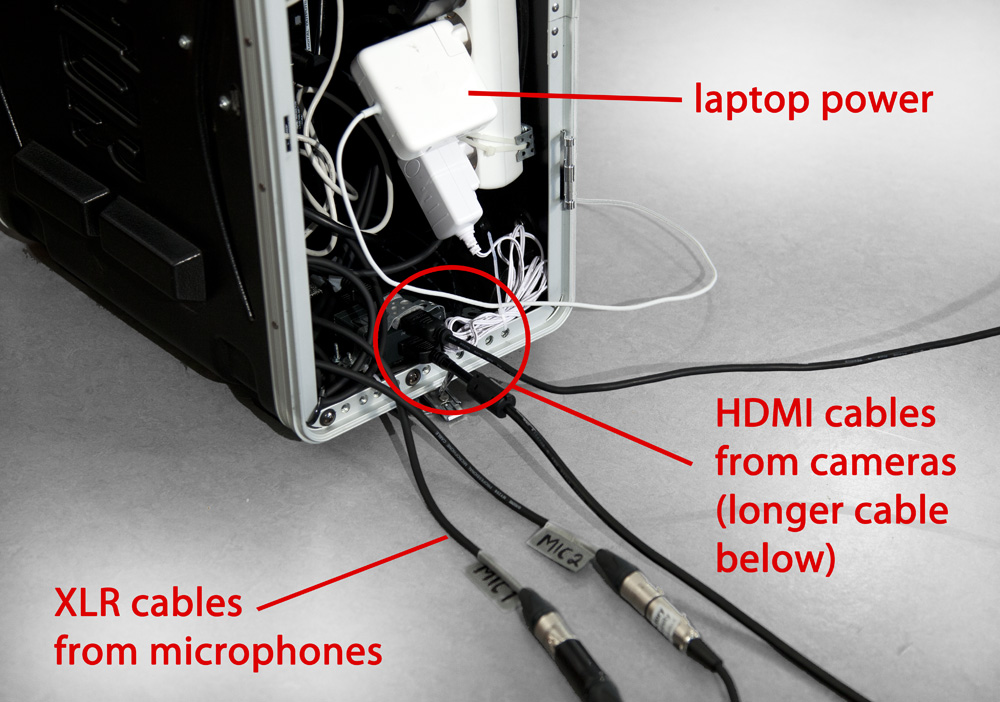
Plug in the microphone, HDMI and laptop power cable into the mixer unit:
5. Plugging into the laptop
Plug your monitoring headphones, ethernet cable and USB cable from the mixing unit to the laptop. Remember laptop power cord.
6. Using the laptop
Login to laptop: user “Videokarry” password “vk”.
Open ATEM mixer programme.
Open Media Express programme.
Choose “Capture and log” tab (and you should start hearing mic audio and see the video stream – please, note that the stream is delayed by approx. 2 sec.)
Ensure that sound quality is ok.
In case you hear electronic disturbance, you may need to plug the main power cable into different slot in the space. DO NOT remove or change any of the pre-plugged cables.
In case of missing sound, ensure that volume is turned on (3 places of likely failure exist):
* Check the volume knobs on the small grey box.
* Check the volume knobs on the large steely box.
* Check the volume setting of the computer.
If still no sound, try if pressing the “MODE” button on the A/D Converter (Behringer Ultramatch Pro/steely box) helps.
Ensure good visual quality.
Test the space in the real lighting that will be used in presentations.
Tweak the exposure levels in cameras to avoid presenter’s screen to flicker.
Test editing and capturing a file.
Make sure there is enough storage space on disk.
You may delete any files from the “videokarry output” folder, in case there are previous files.
